
Pumpkin Week
Using hands-on activities, nature exploration, and a lot of creativity, our guides make early learning a joyful experience. We use techniques such as nature walks, hands- on lessons to learn about apples, sensory play, and science experiments.
Print-at-Home PDF
Science | Begins October 20th
Science-based program for ages kids.
Pumpkin Week Lesson 1: The Great Pumpkin Adventure
Activity: Pumpkin Window Decoration
Lay out a piece of contact paper, sticky side up.
Have your child arrange bits of tissue paper all over the contact paper. You can use orange, green, white, and even black if you want to add facial features like a jack-o-lantern!
Once complete, stick another piece of contact paper on top of the tissue paper, sealing the tissue between the two layers.
Cut out the shape of a pumpkin from the contact paper.
Use tape to affix the pumpkin to a window. Create a whole pumpkin patch and see the sunlight shine through!
Alternate: Instead of contact paper, you can use wax paper. Fold a large piece of wax paper in half, and place it on a towel, open. Have your child fill one half with tissue paper, then fold the other half over, cover with a towel, and use an iron to seal the two halves together.
Read out the following:
When you think of a pumpkin, you probably imagine a mostly smooth, round orange fruit with a thick green stem. There are many types of pumpkins that look like that, but pumpkins can also be green, grey, blue, yellow, white, patchy, bumpy, spotted, or striped! There are many different varieties of pumpkins, but most are harvested in autumn! Because of this, they are featured in many harvest meals, including Thanksgiving and Christmas in North America.You may hear people refer to fruits like pumpkins as vegetables because we often associate them with savory foods instead of sweet ones, however because pumpkins and other squashes grow from flowers and contain seeds, they are actually classified as fruits!
Field Journal Prompt:
Page 21 in your Field Journal
Pumpkins are closely related to other fruits such as winter squash, zucchini and butternut squash. In their Field Journal, have your child draw a variety of different pumpkins, showing diversity in size, color, and texture.
Pumpkin Week Lesson 2:
How Does a Pumpkin Grow?
Activity: Papier-Maché Pumpkin
Prepare papier-maché paste by combining flour and water in the mixing bowl. Mix with a whisk to remove any lumps.
Blow up the balloon to the size of pumpkin you would like to make. Tie off.
One at a time, dip a strip of newspaper into the papier-maché paste. Remove the excess from the strip, then place on the balloon. Continue doing this, placing strips in alternating directions, all over the balloon (leaving a small area around the knot)
Cover the balloon with at least 3 layers of newspaper. The thicker you make it, the longer it will take to dry.
Once dry, pop the balloon. You can trim the open end so that the balloon shell will stand up on its end.
Decorate the balloon shell with paint to create your pumpkin. Draw a face on it like a jack-o-lantern!
-
Introduce children to pumpkins by learning about their diversity and botanical origin.
Understand the pumpkin life cycle and identify each phase of its development.
Introduce children to the anatomy of a pumpkin through means of observation and exploration.
Introduce children to the different aspects of nutrition that pumpkins offer
-
Contact paper (or wax paper, see step 6)
Tissue paper (any of orange, green, white, black)
Iron (if using wax paper)
2 parts water
1 part all purpose flour
Mixing bowl
Whisk
Newspaper, cut/ripped into strips
Balloon
Paint to decorate once dry
A medium-sized pumpkin
Cutting board
Knife
Newspaper
1 ½ cups raw whole pumpkin seeds
Baking sheet
2 tsp butter
1 pinch salt
-
Too Many Pumpkins by Linda White
How Big Could Your Pumpkin Grow? by Wendell Minor
The Roll Away Pumpkin by Junia Wonders
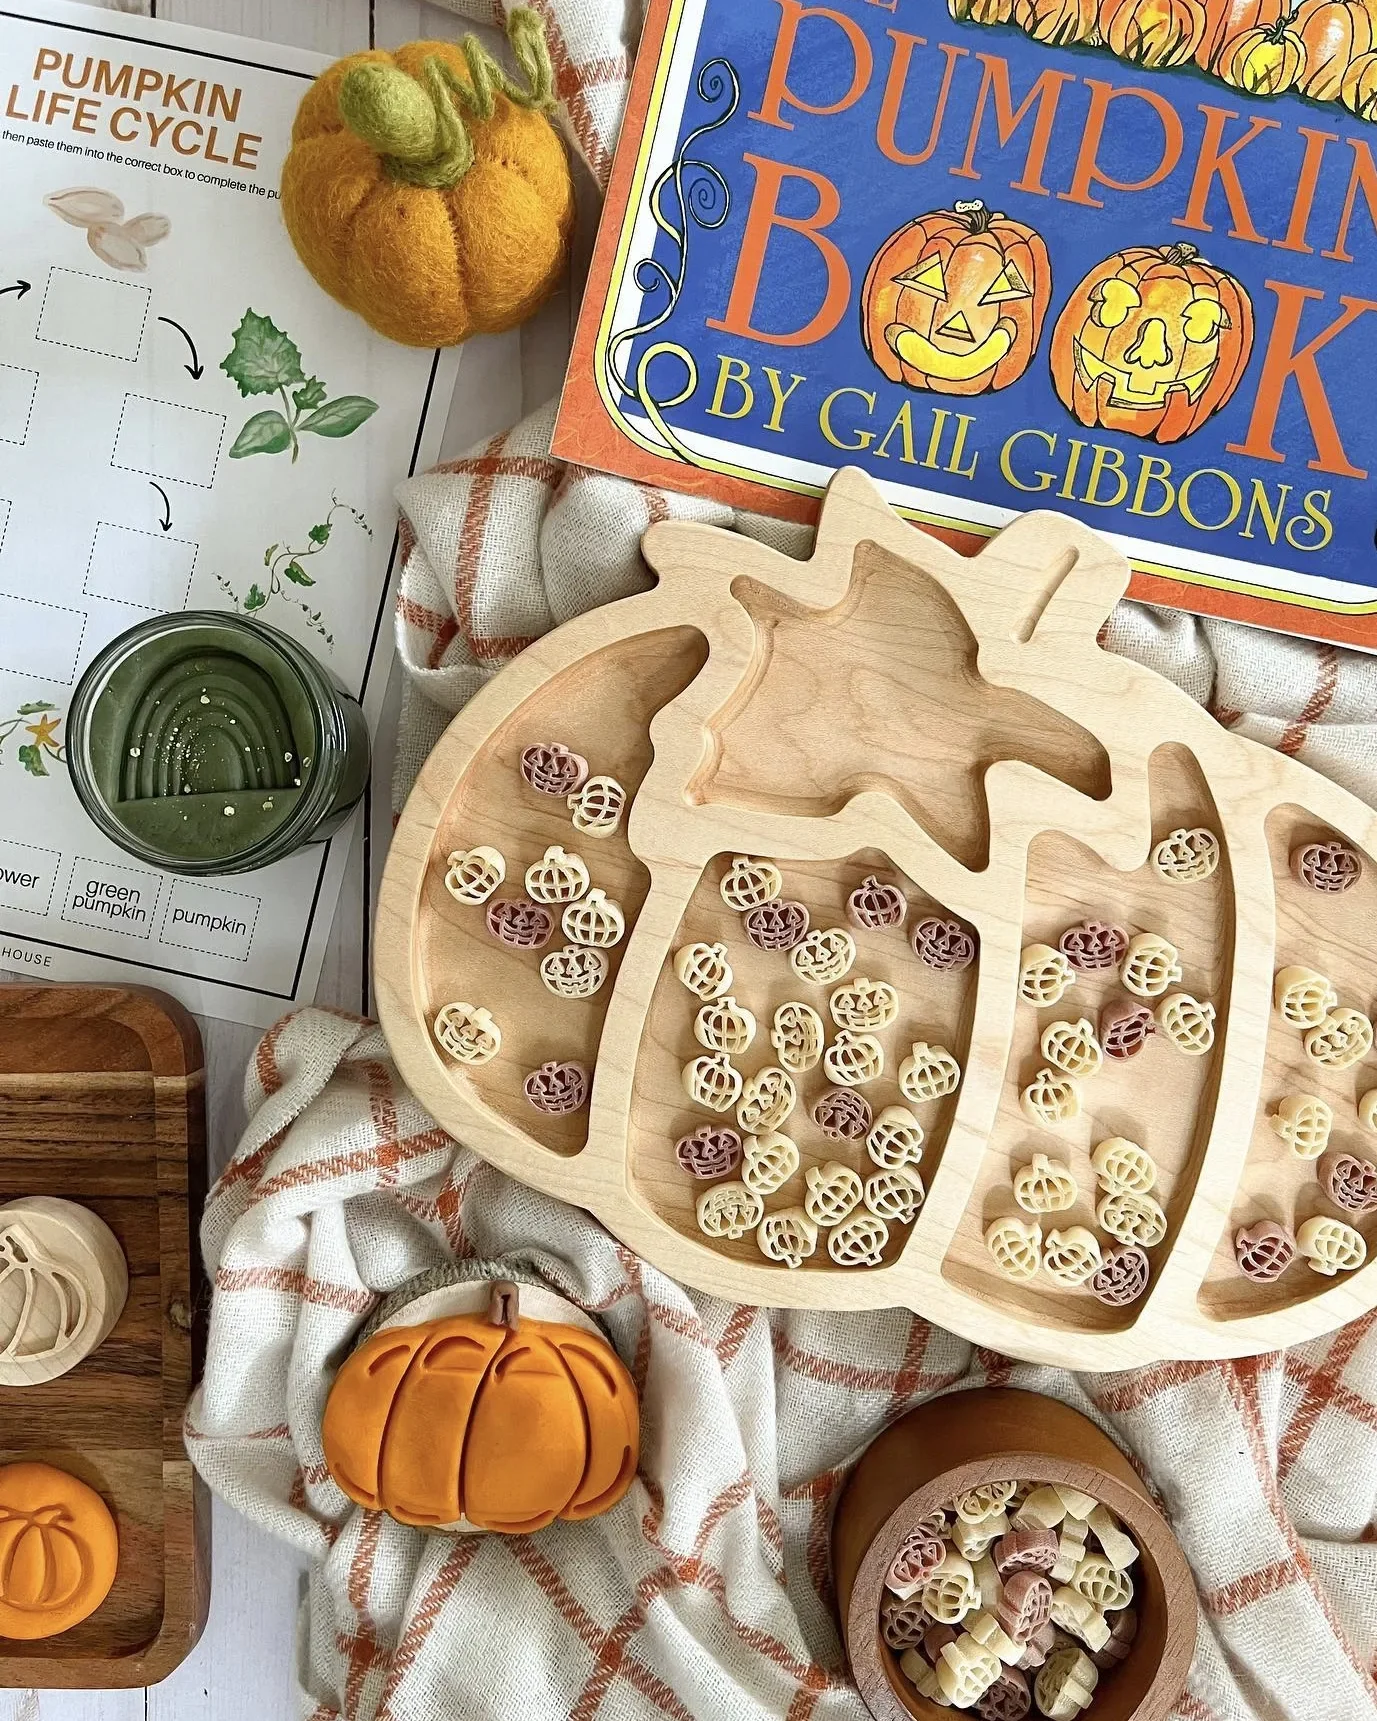
The Pumpkin Book by Gail Gibbons
From Seed to Pumpkin by Wendy Pfeffer
Food Anatomy by Julia Rothman
-
Download the Child Field Journal and use this article’s lesson plans to learn all about autumn!
Children often enjoy eating pumpkins but have they ever really thought about where they come from, how they are harvested, and why they are nutritious to our bodies?
Encourage your child to think more about pumpkins and point out some of their characteristics such as them being different colors and the incredible amounts of seeds they hold inside
-
Set up a nature table to introduce your children to pumpkins beyond what meets the eye. Include a variety of pumpkins such as big moons, blue max, and Cinderella. Leave some whole and cut others in half so that they can see the inside.
Sensory Play
Cut the top of a pumpkin so that your child can explore the interior. Encourage them to put their hands inside the pumpkin and feel it while they grab the seeds. What do they feel? What do they smell? What do they taste like?


Lessons in This Series
The Great Pumpkin Adventure
How Does a Pumpkin Grow?
Pumpkin Guts! (The Science Inside)
From Patch to Porch
Nature Field Journal

Read out the following:
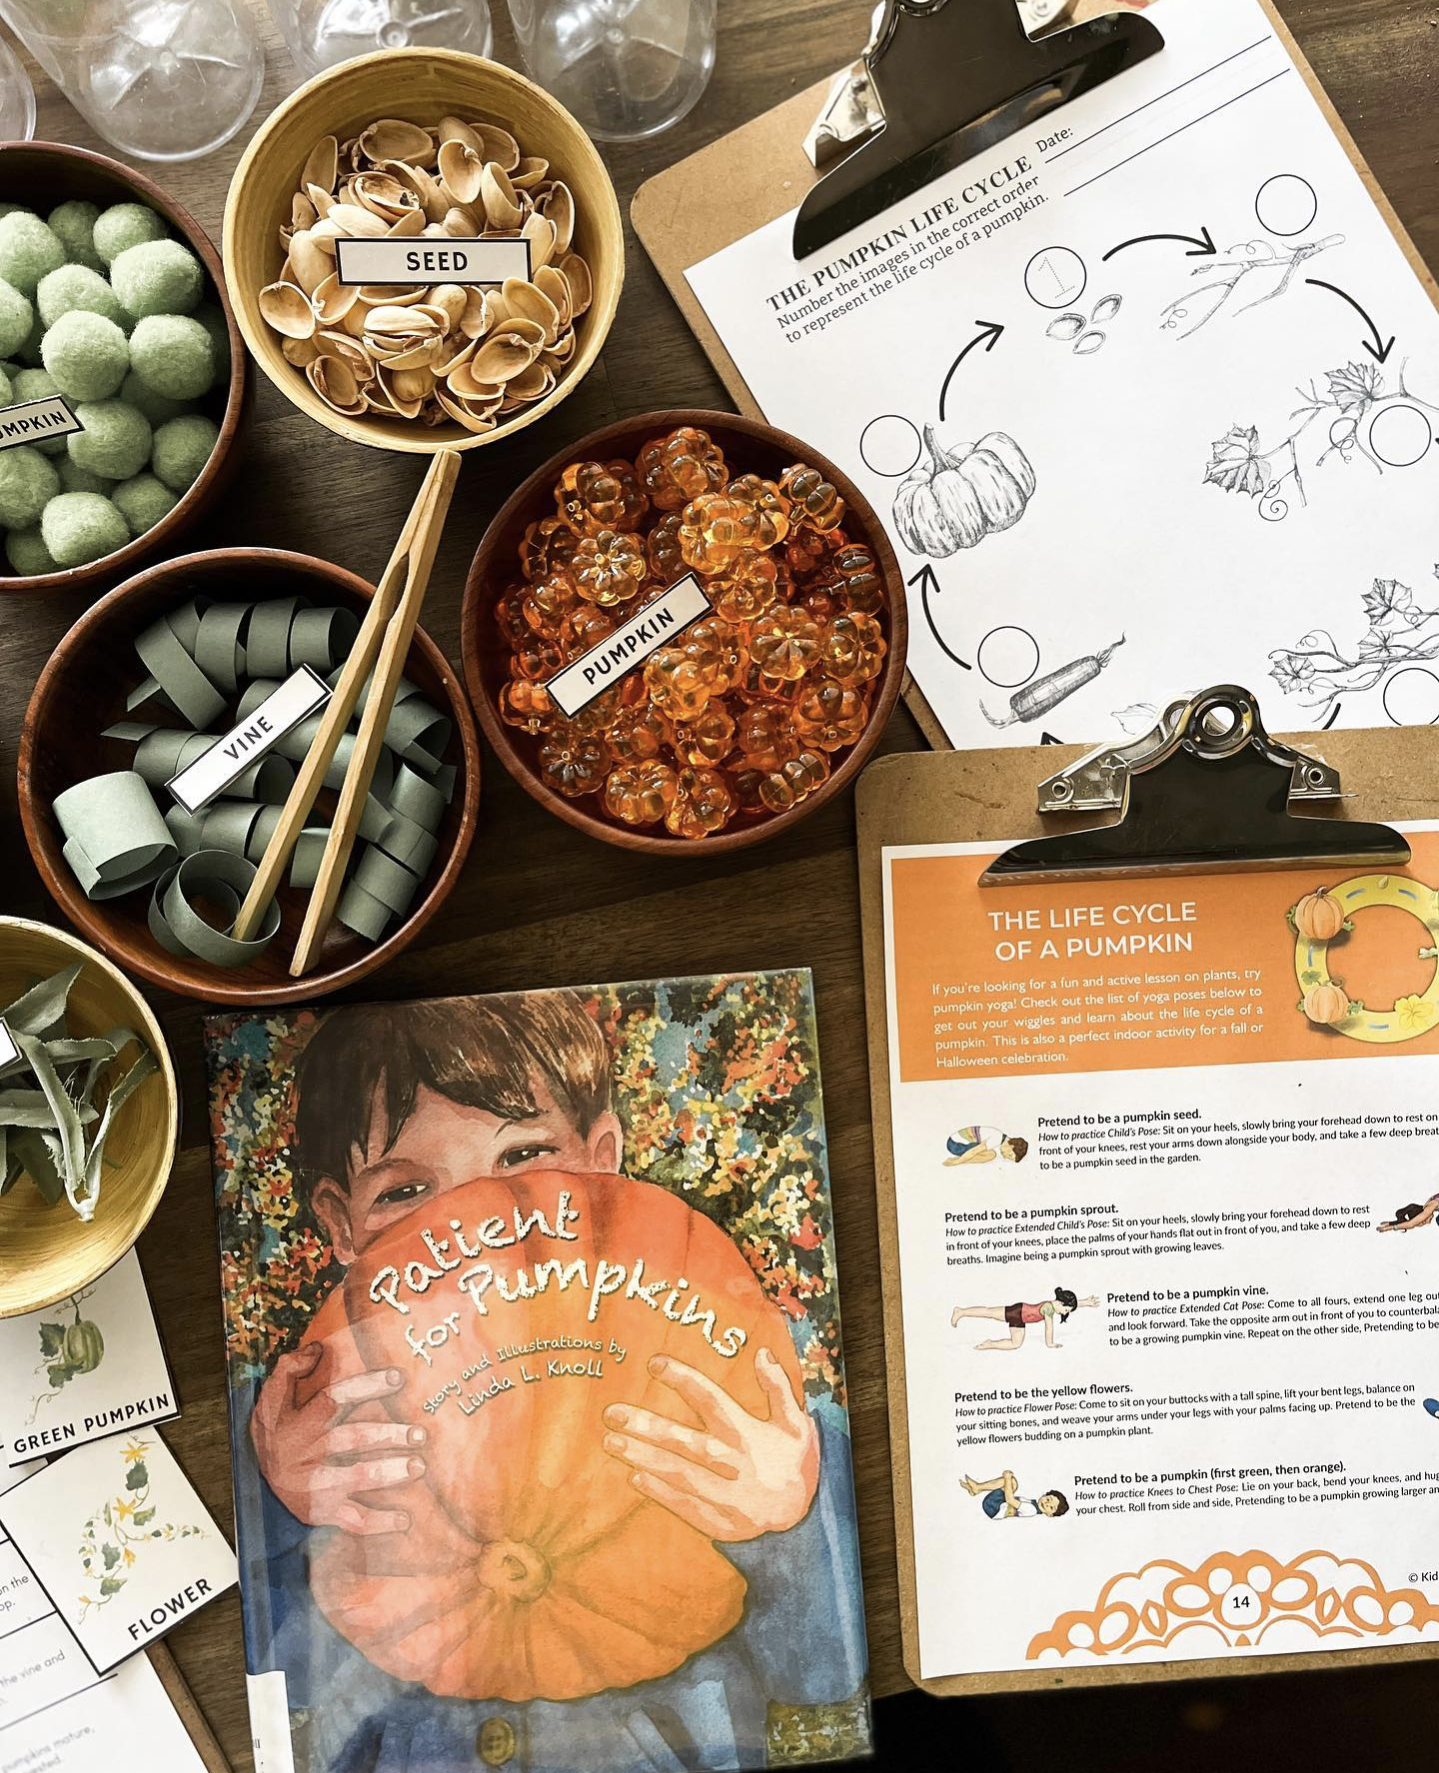
A life cycle is the demonstration of how living things develop. A pumpkin's life begins as a seed. The seed goes through the process of germination where the seed absorbs water and begins to sprout. The sprout breaks through the earth, reaching towards the sun, and continues to grow into a plant. As it grows, the plant transitions into a long vine and grows close to the ground. It blooms beautiful, yellow flowers (which are also sometimes eaten by humans). When the female flowers are pollinated, they will begin to grow green pumpkins. The green pumpkins will typically take several weeks to develop into mature pumpkins. Once the pumpkins are mature, they are harvested by hand usually during the month of October in the northern hemisphere, and in the month of April in the southern hemisphere.
Field Journal:
Page 22-23 in your Field Journal
Introduce your child to the life cycle of a pumpkin. Use the pumpkin life cycle diagram and activity in their Field Journal to help them develop a basic understanding of the process. Review the seven stages in the diagram.
In addition, take this opportunity to discuss the seasons with your child. Talk about how pumpkins are planted in the spring, grow during the summer, and are harvested in the season of autumn.
Pumpkin Lesson 3: Pumpkin Guts! (The Science Inside)

Activity: Pumpkin Dissecting
Lay out newspaper all over your work surface for easy cleanup.
Using means of observation, have your child look at the pumpkin itself without cutting into it, just yet.
Take this opportunity to point out the following segments of the pumpkin: leaf (if any - if none, explain where the leaf would be), stem, and skin. Ask them to name some characteristics that go with each part such as the color and/or texture.
Carefully cut around the stem of the pumpkin as if you were going to carve a pumpkin. If your child is old enough, encourage them to do this part. If not, you can do it for them.
Using means of observation, point out the inner parts of the pumpkin including the pulp, seeds, and fibrous strands.
Finish this activity by having your child clean out the pumpkin with their hands. Do some more observation and hands on experimentation. Allow them to become familiar with the texture, smell, and colors of the anatomy of a pumpkin. (Save the seeds for tomorrow's lesson!).
Read out the following:
Pumpkins grow from seeds. The seeds in a pumpkin are surrounded by many fibrous strands, that are long and string-like. The pulp of the pumpkin is the part you typically cook to make into soup or pie. The outside of the pumpkin is covered with the skin, or rind, and the stem, which grew out of a flower from the vine.
Field Journal Prompt:
Page 24-25 in your field Journal
Identify the parts of a pumpkin by dissecting and and using means of observation by following the steps in the activity below. Carefully point to each part of the pumpkin and have your child repeat after you then switch roles and encourage your child to identify all parts using proper vocabulary.
In their Field Journal, have your child sketch the anatomy of a pumpkin and label each part using the diagram, Parts of a Pumpkin, as a guide. Be sure to include the following segments: stem, skin, pulp, seeds, and fibrous strands.
Pumpkin WeekLesson 4: From Patch to Porch
Activity: Pumpkin Seed Roasting
Preheat oven to 325°F.
Toss seeds in a bowl with the melted butter (or oil) and salt, stir to coat.
Spread the seeds in a single layer on a baking sheet and bake for between 20-30 minutes (time will depend on size of seeds - they are ready whey they are golden brown). Stir once halfway through to prevent burning.
Carefully remove seeds from the oven and let cool. Enjoy as a snack or use them to top a salad.
Read out the following:
Although the first food you may think of with pumpkin in it is pumpkin pie, pumpkins are incredibly nutritious on their own. They are full of vitamins, minerals, and fiber,and are low in calories. Just like apples, pumpkins are high in antioxidants and are a great source of Vitamin A to our bodies. Vitamin A helps our body with immunity towards illness and helps maintain good eyesight, skin, and heart health!Pumpkins are very versatile in foods. They can be used in sweet dishes, in desserts like pumpkin pie, and can also be prepared in savory ways, often in pasta dishes, or roasted with other squashes. As mentioned, there are several dishes that people make with the pumpkin flowers, and it is also very common to roast the pumpkin seeds for a crispy snack (like our activity today!).
Many cultures around the world also participate in pumpkin carving. The pumpkins are often carved to have a face, or other image, and are typically lit up with a candle, and displayed in front windows or porches.
Field Journal Prompt:
Page 26 in your Field Journal
Harvesting pumpkins happens during the season of autumn in the Northern Hemisphere in the month of October. Farmers hand pick the pumpkins off the vines that are ripe and ready to be harvested.
Pumpkins are known for their nutritional value and for their delicious, edible seeds. In their Field Journal, have your child complete the seed counting activity using the seeds from yesterday's pumpkin.